Your Complete Guide to Kitchen Resurfacing Timelines in Perth

Kitchen Resurfacing in Perth, Explained Properly
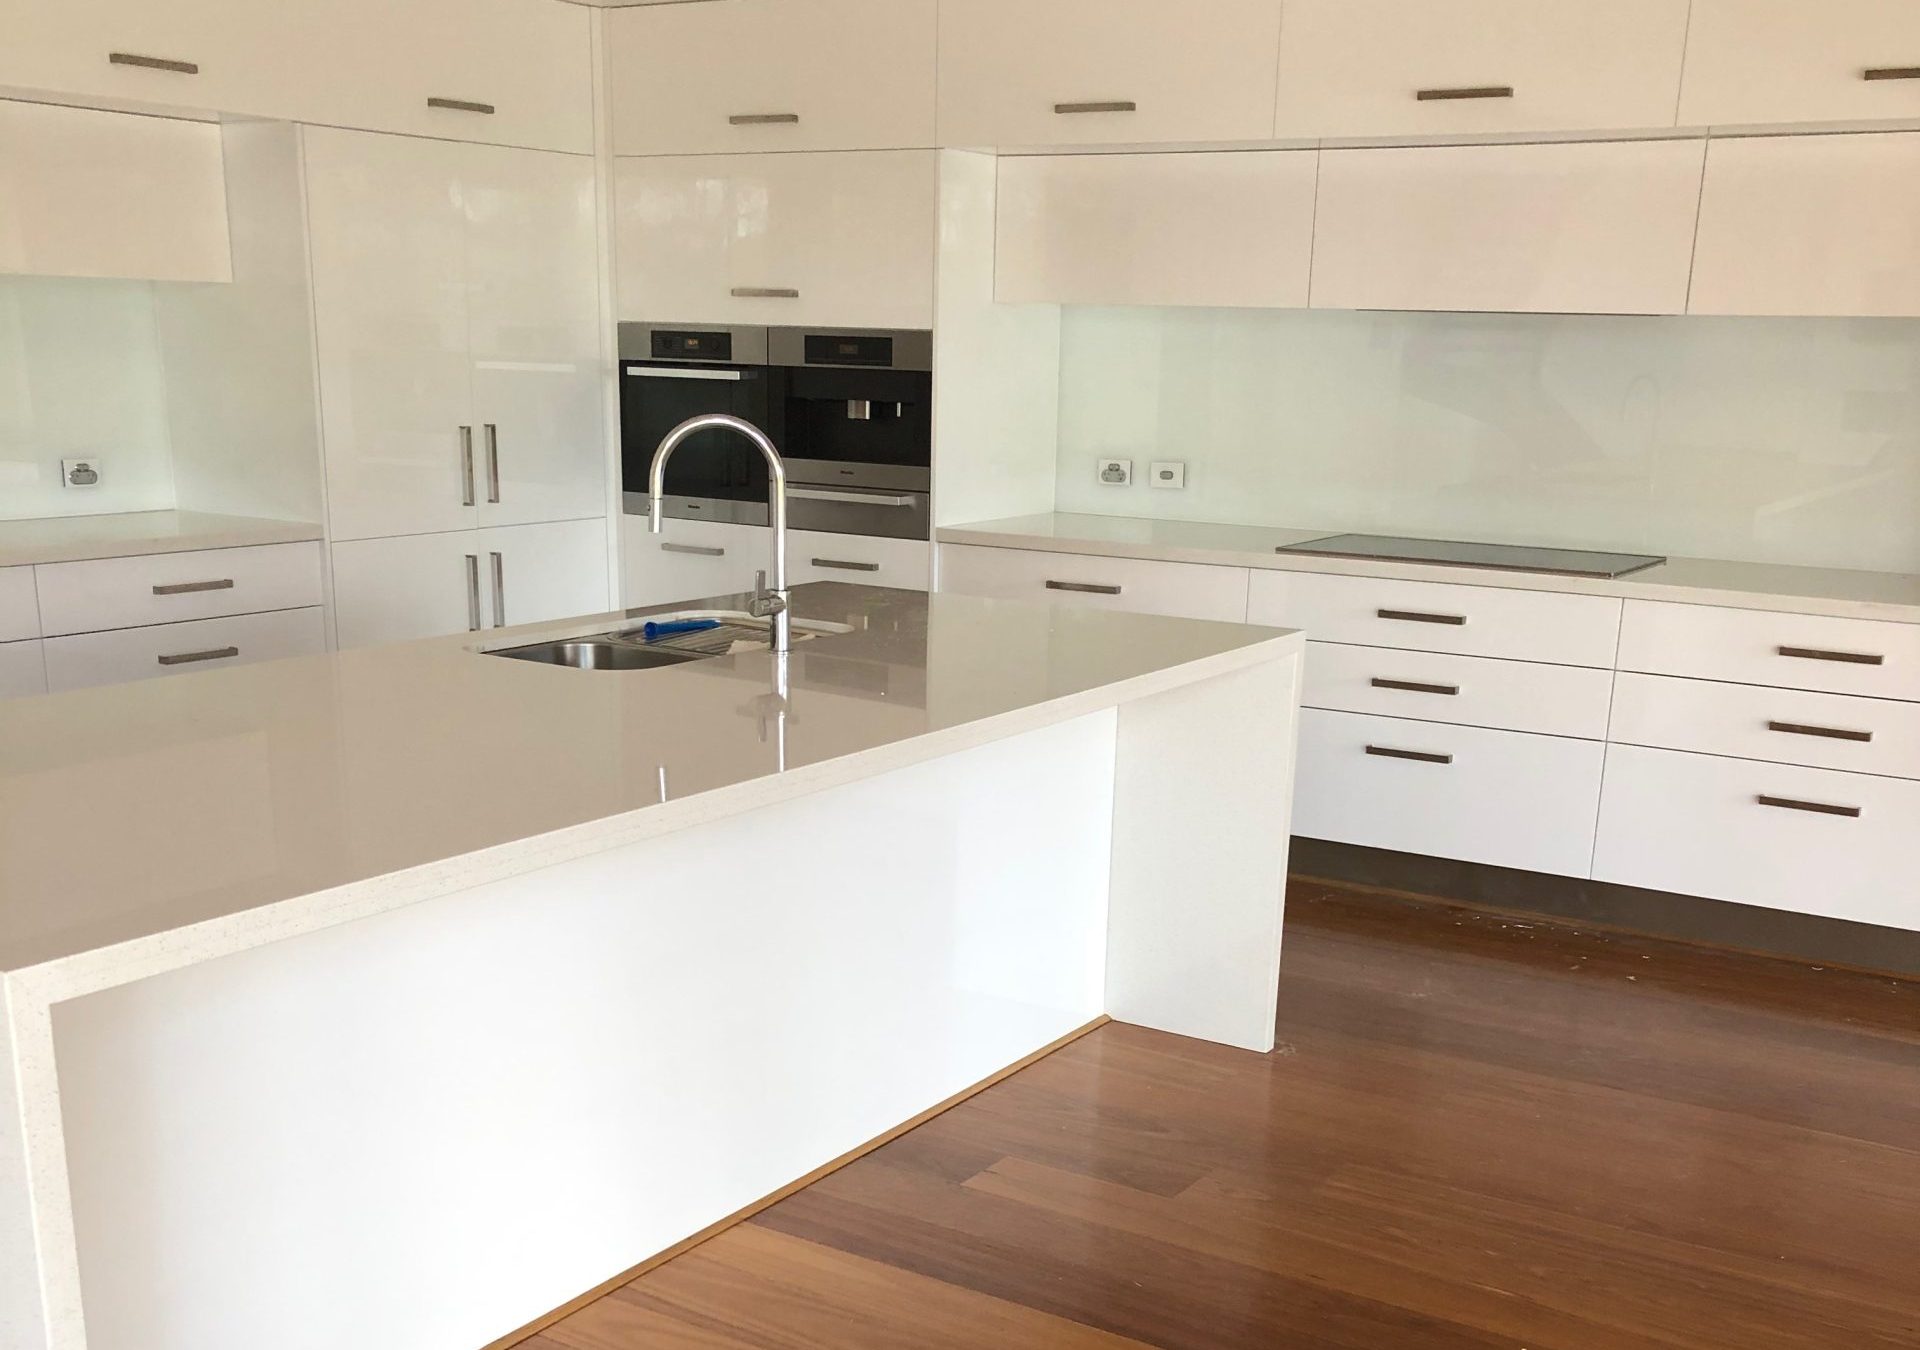
If your kitchen layout works but the finishes look tired, kitchen resurfacing is usually the smartest move. Instead of ripping everything out, you keep the existing structure and update the visible surfaces so the space looks fresh and modern without a full renovation.
What kitchen resurfacing actually is
Kitchen resurfacing focuses on the parts you see and touch every day. That usually means:
- Resurfacing or respraying cabinet doors, drawer fronts, end panels and trims
- Resurfacing benchtops with a hard wearing coating or stone look finish
- Updating visible panels, kickboards and sometimes splashbacks, depending on the service
The cabinetry carcasses and layout stay where they are. You get a new look without touching plumbing positions, electrical points or structural walls. If you want to dig more into the style side of things, the team at Unique Resurfacing covers this in detail on their kitchen resurfacing specialists page.
How resurfacing compares to a full kitchen renovation
A full renovation usually means:
- Demolition of existing cabinets and benchtops
- New cabinetry built and installed from scratch
- Possible layout changes, new services, flooring repairs and extra trades
Resurfacing skips most of that. You avoid structural work, heavy demolition and long downtime. The focus is a quality prep and coating process that makes sound surfaces look new again. For Perth homeowners and commercial clients, that usually translates to less interruption, less mess and a faster turnaround compared with a full strip out.
Why Perth residents and commercial properties like resurfacing
The Perth market is practical. You want a clean, modern kitchen that suits local tastes, but you do not want weeks of trades in your space or a blown budget. Resurfacing fits that mindset.
- Cost conscious, because you are reusing the existing framework instead of paying for full replacement
- Time efficient, with typical projects completed far quicker than full renovations
- Less disruption, handy if you are running a busy household or a commercial kitchen that cannot shut for long
- Style flexibility, with a wide range of colours and finishes that suit Perth homes and local commercial interiors
If your cabinets are solid and the layout functions, resurfacing often gives you the fresh look you want without overcapitalising. That is why so many Perth kitchens get resurfaced instead of replaced.
Initial Assessment and Planning: Setting Up a Smooth Resurfacing Job
Before anyone tapes up a cabinet or sands a benchtop, you need a clear plan. A bit of upfront assessment saves you from timeline blowouts and half baked decisions later.
Step 1: Assess the current kitchen condition
Start by looking at the structure, not the colour.
- Cabinet carcasses: Open every door and drawer. Check for swelling, water damage, sagging shelves or loose hinges. If the carcasses are failing, resurfacing alone will not fix the problem.
- Benchtops: Run your hand along the surface. Note chips, burns, cracks and joins that have moved. These affect prep time and sometimes the type of coating that makes sense.
- Hardware and fittings: Look at handles, hinges, drawer runners and kickboards. Decide what you will keep, repair or replace.
- Moisture and movement: In Perth kitchens near windows, sinks or dishwashers, check for swelling or soft spots. These can slow the job if not addressed early.
Step 2: Identify what actually needs resurfacing
Next, map out which parts of the kitchen you want included. For most Perth homes and commercial spaces, that might cover:
- Cabinet doors, drawers and visible end panels
- Benchtops, including island benches
- Kickboards and exposed gable panels
- Selected splashbacks, if they suit resurfacing products
Be specific. Create a simple checklist of areas and surfaces. That list becomes the basis for accurate quotes and realistic timeframes.
Step 3: Decide on materials and finishes
This is where style, durability and budget need to line up.
- Cabinets: You might choose a hard wearing sprayed coating for a smooth modern finish.
- Benchtops: Many Perth clients prefer stone look resurfacing for a more premium feel without replacement.
- Colour and sheen: Think about natural light, floor colour and adjacent rooms, not just what is trending in 2026.
If you want more detail on current styles, the team at Unique Resurfacing breaks this down on their 2026 kitchen resurfacing trends guide.
Step 4: Talk to local Perth resurfacing professionals
This is the point to bring in someone who works with these products every day.
- On site inspection: A good Perth resurfacer will inspect the kitchen, flag any structural issues and outline what is realistic on your timeline.
- Clear scope and quote: Ask for a written scope that matches your checklist, including surfaces covered, repair allowances and expected project duration.
- Questions to ask: Clarify how many site visits they expect, what prep you need to do, and how long each coating stage usually takes in local conditions.
When you have at least one detailed quote that matches your goals, you are in a strong position to lock in a timeframe that fits your home or commercial schedule. If you want a straight conversation about what is realistic in your kitchen, the Unique Resurfacing kitchen team can walk you through it before you commit to any dates.
Detailed Kitchen Resurfacing Timeline in Perth
Kitchen resurfacing moves through clear stages. When you understand each one, you can plan your week, schedule trades around it and avoid surprises.
Stage 1: On site preparation
This is where the crew protects everything that is not getting resurfaced and sets up the workspace.
- Masking benchtops, floors, appliances and adjoining rooms
- Setting up ventilation, drop sheets and access paths
- Removing doors, drawer fronts and hardware if needed
Preparation in Perth often has to account for coastal dust and open plan layouts, so expect a careful masking job to keep overspray where it belongs.
Stage 2: Surface repair and detailed prep
This stage decides how good the final finish looks. A solid resurfacing team will spend serious time here.
- Cleaning and degreasing cabinets and benchtops
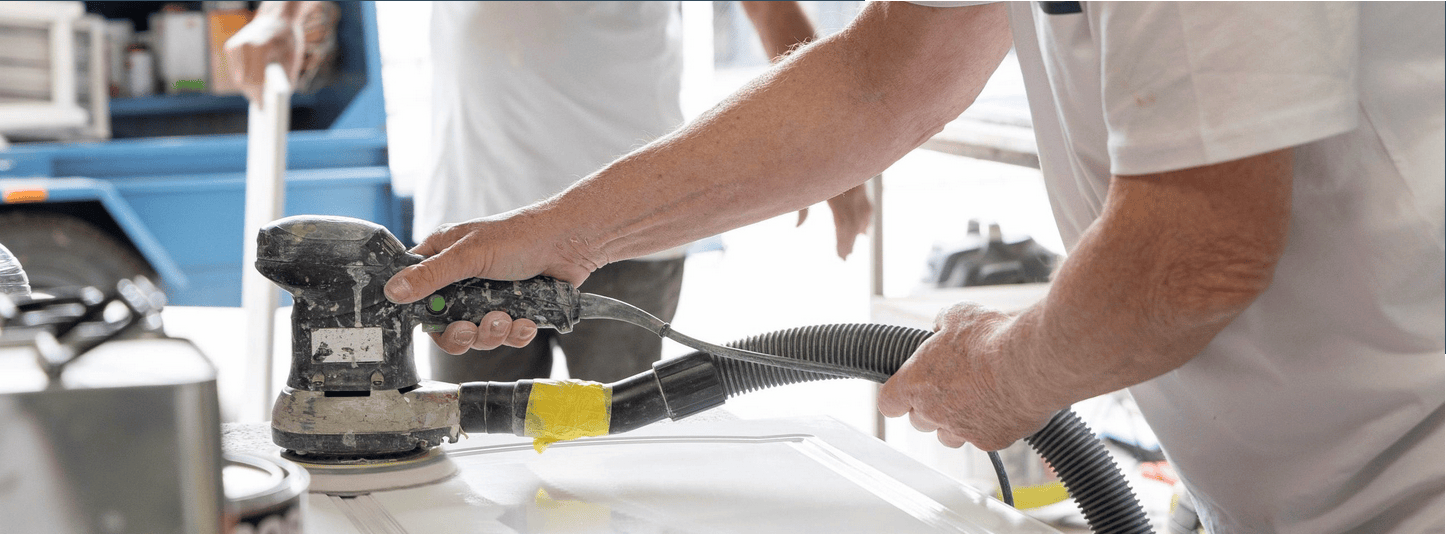
- Sanding or abrading existing surfaces for proper adhesion
- Filling chips, minor damage and old handle holes if you are changing hardware positions
- Spot priming or patching problem areas
If your kitchen has heavy wear around the sink or cooktop, this stage can stretch longer, because those areas usually need extra repairs.
Stage 3: Priming
Primer goes on once surfaces are sound and dust free. It helps coatings grip and levels out colour differences in older kitchens.
- Application of a compatible primer to cabinets and panels
- Separate priming approach for benchtops, using products designed for higher impact areas
- Light sanding between coats if the system requires it
Humidity and cooler mornings in some Perth suburbs can slow primer drying. Your resurfacer will sequence coats around local conditions to keep the timeline realistic.
Stage 4: Painting or laminating
This is when your kitchen actually starts to look new.
- Spraying cabinet doors, drawers and fixed panels with the chosen coating
- Applying the benchtop resurfacing system, often in multiple layers for a stone look finish
- Allowing for flash off times between coats so the surface cures properly
Complex colour schemes, two tone cabinets or feature islands can add extra passes, so expect a longer on site time if you go detailed with your design. If you want a clearer sense of how different finishes affect workflow, it is worth speaking with a team that does this every day, such as Unique Resurfacing in Perth.
Stage 5: Curing time
Curing is not just about feeling dry to the touch. The coating needs time to harden before you treat it like a normal kitchen.
- Restricted use period, usually light use only
- No dragging appliances or stacking heavy items on benchtops
- Gentle cleaning only, with approved products
Perth heat can speed up surface drying, but that does not mean the coating has fully cured. Your resurfacer will give you a clear minimum curing window based on the product and the season.
Stage 6: Finishing touches and handover
This is the tidy up and detail stage.
- Reinstalling doors, drawer fronts and hardware
- Caulking joins where needed and touching up minor marks
- Removing masking, cleaning down and final inspection with you
At this point, you should receive care instructions and realistic expectations around how the finish behaves over the first curing period. For a deeper dive into lifespan and long term performance, you can cross check with the guidance in this cabinet resurfacing durability guide.
Key factors that influence your timeframe
- Kitchen size and complexity, more doors, drawers and benchtop area mean longer prep and spray time.
- Material choice, some systems need extra coats or longer curing windows.
- Weather and ventilation, high humidity, cold snaps or poor airflow in older Perth homes can slow drying.
- Access and site conditions, tight apartments or busy commercial kitchens need more protection and staging.
When you allow for these variables upfront, your kitchen resurfacing timeline in Perth stays predictable, and you are not left guessing when you can cook properly again.
Preparing Your Kitchen For Resurfacing
Good prep is the difference between a smooth resurfacing week and a messy, dragged out job. If you set the space up properly, the crew can get straight into the technical work instead of moving clutter and fixing preventable issues.
Clear the space so the team can work
Start with everything you control before the first day on site.
- Empty benchtops: Pack away appliances, decor, knife blocks and paperwork. Surfaces should be completely clear.
- Clear out key cupboards: Focus on cabinets above cooktops, sinks and heavy traffic zones. For commercial kitchens, clear any storage near preparation and service lines that will be resurfaced.
- Protect what stays: Remove artwork and soft furnishings near the kitchen. Cover nearby furniture with sheets if the space is open plan.
The goal is simple, your resurfacer should be able to walk in, mask up and start prep without shifting your belongings.
Secure and position appliances
Most kitchen resurfacing projects work around existing appliances, but they need to be safe and stable.
- Fridge and freestanding units: Pull them forward slightly if access is tight, and clean dust from behind to reduce airborne mess.
- Ovens and cooktops: Confirm with your resurfacer whether these stay in place. If they need to move, arrange a licensed trade where required.
- Small appliances: Store kettles, toasters and coffee machines in another room. That clears power points for the crew.
For busy commercial setups, plan any shutdowns or reduced service periods in advance so the resurfacing schedule lines up with your quiet times. If you are unsure how to stage that, it is worth speaking with a specialist who works on both homes and commercial spaces, such as Unique Resurfacing in Perth.
Sort an alternative cooking plan
You will still need to eat while the coatings cure.
- Set up a mini kitchen in a laundry, alfresco or staff room with a microwave, kettle and basic utensils.
- Plan simple meals that do not need heavy cooking or lots of bench space.
- For commercial kitchens, confirm whether you can run a limited menu or need a full closure during specific stages.
When you have a backup plan, you are not tempted to lean on fresh coatings or benchtops before they are ready.
Coordinate access, pets and people
Resurfacing is cleaner than a full renovation, but it is still a trade environment.
- Access: Make sure the team can park reasonably close, and clear pathways through hallways and entries.
- Kids and pets: Keep them out of the work area. Fresh coatings and sanding gear do not mix with curious hands or paws.
- Work schedules: If you run a business from home, plan calls away from the main work zone during sanding and spraying.
Good preparation shortens the job. When your kitchen is clear, appliances are sorted and access is simple, your resurfacing team can focus on getting a clean, durable finish instead of wrestling with logistics. If you want a clear checklist tailored to your layout, the Perth team at Unique Resurfacing can walk you through what to do week by week before your booking date.
What To Expect During And After Kitchen Resurfacing
Once the planning and prep are done, the on site work moves in a clear order. When you know what is coming, it is much easier to live around the project and protect the finish properly.
What you will see during resurfacing
1. Setup and protection
- The crew arrives, walks the space with you and confirms the scope.
- Floors, benchtops, appliances and nearby rooms get masked and covered.
- Doors, drawer fronts and some hardware are removed and labelled for smooth reinstallation.
This stage can look slow from the outside, but it is what keeps overspray and dust under control, especially in open plan Perth homes.
2. Sanding and surface preparation
- All resurfaced areas are cleaned and degreased, particularly around cooktops and handles.
- Surfaces are sanded or mechanically abraded to give the new coatings grip.
- Minor repairs happen here, such as filling small chips or old handle holes.
You can expect some noise and fine dust during this stage, although a good team will use extraction and regular vacuuming to keep it contained.
3. Primers and coatings
- Primer is applied first, then sanded if the system requires it.
- Top coats on cabinets are sprayed in thin, even passes for a smooth finish.
- Benchtops receive their resurfacing system in layers, with short waits between coats.
This is the part most people enjoy, because the colour and finish you chose start to show properly. In Perth conditions, your resurfacer will work around local humidity and temperature to keep drying times realistic.
4. Reassembly and tidy up
- Doors, drawers and hardware go back on.
- Masking is removed, joins are caulked where needed and surfaces are checked.
- The team walks you through the finish and explains short term care.
How to look after your resurfaced kitchen straight away
The coating might feel dry, but it is still curing.
For the initial curing period your kitchen needs gentle handling if you want the finish to last.
- Go light on use: Avoid dragging appliances, stacking heavy boxes on benchtops or slamming doors and drawers.
- Keep it cool where you can: Do not place hot pots straight on resurfaced benchtops, and use trivets or boards near the cooktop.
- Clean with care: Stick to soft cloths and mild cleaners. Skip abrasive pads, harsh chemicals and scrubbing at any small marks.
- Watch for moisture: Wipe spills around sinks and dishwashers quickly. Do not leave wet cloths or drying racks sitting on fresh coatings.
- Check moving parts: If a hinge feels tight or a drawer rubs the new finish, flag it early so it can be adjusted before damage builds up.
Set your expectations for the first weeks.
It is normal to baby the kitchen a bit early on. Once the coating reaches its full cure, it will handle normal family or commercial use far better. If you want a broader view of how resurfaced finishes behave over time, you can cross check with the guidance in the resurfacing lifespan guide for Perth homes.
If you prefer clear, practical aftercare instructions tailored to your exact products, the team at Unique Resurfacing can walk you through what to do, and what to avoid, before you lock in your project dates.
Local Regulations And Environmental Considerations In Perth
Kitchen resurfacing in Perth is not just about a good finish. You also need to respect local regulations, safety standards and the environment. A professional who works here regularly will factor these into the timeline from the start.
Building codes and compliance basics
Most resurfacing projects sit inside the footprint of your existing kitchen, so they often do not trigger major building approvals. That said, there are still rules to respect.
- Fire and heat zones: Surfaces near cooktops need products that cope with higher temperatures. Your resurfacer should know where coatings are suitable and where you may need different materials.
- Wet areas: Around sinks and dishwashers, coatings must handle moisture and cleaning products. Using the wrong system here can shorten lifespan and cause peeling.
- Electrical and plumbing: If resurfacing coincides with moving power points, lights or plumbing, licensed trades must handle that work. Factor their availability into your schedule.
For commercial kitchens, expect tighter checks around hygiene and cleanability, which can influence which coatings are appropriate and how the work is staged.
Health and safety on site
Resurfacing involves sanding, primers and top coats, so safety is not optional.
- Ventilation: Good airflow and extraction reduce fumes and dust. This can affect which days or times suit spraying in your home or business.
- Protective equipment: A serious Perth resurfacer will use respirators, eye protection and coveralls. If you do not see that gear, treat it as a red flag.
- Site control: Keeping kids, staff and pets out of the work zone is part of basic safety. Clear access paths and no trip hazards keep the job moving.
Responsible disposal of old materials
Even though resurfacing creates far less waste than a full rip out, you still need to handle the leftovers properly.
- Old doors and benchtops: If any items are removed, they should be disposed of at appropriate facilities instead of general household rubbish.
- Sanding dust and masking: Used masking, filters and collected dust should be bagged and removed from site, not left in your bins without discussion.
- Leftover products: Primers and coatings should never go down sinks or stormwater drains. They need correct disposal through approved channels.
Choosing environmentally considerate options
Perth households and businesses are paying more attention to air quality and waste, which lines up well with resurfacing as a low demolition approach.
- Low odour or low VOC product systems can improve comfort during and after the job, especially in smaller homes or busy commercial spaces.
- Minimal demolition means you keep carcasses and many existing materials in place, which reduces the volume of waste heading to landfill.
- Durable finishes that hold up to local conditions reduce how often you need to redo surfaces, which cuts long term material use.
If you want a straight conversation about how a specific resurfacing system will behave in your Perth kitchen, the team at Unique Resurfacing can walk you through product choices, safety setups and how that all fits into a realistic project timeline.
Tips For Choosing The Right Perth Kitchen Resurfacing Service
Picking the right resurfacing team matters more than the colour you choose. A good operator gives you a realistic timeline, clear communication and a finish that holds up in real Perth conditions. A poor one leaves you with blown schedules and touch ups before the kitchen has even settled in.
Check real resurfacing expertise, not just “painting” skills
- Specialisation: Look for a team that talks specifically about kitchen resurfacing, benchtop systems and cabinet respraying, not just general painting.
- Consistent process: Ask them to walk you through their typical preparation, coating and curing steps. If they cannot explain the process clearly, expect timeline surprises later.
- Relevant portfolio: You want proof of similar kitchen projects in Perth conditions. If you want to see what that looks like in practice, take a look at the resurfacing work showcased in Unique Resurfacing past projects.
Clarify credentials and insurances
- Business details: Confirm they are a registered business that has been operating in Perth for more than a short period.
- Insurance: Public liability insurance and, where relevant, cover for work in commercial premises should be non negotiable.
- Product training: Many coating systems need specific training. Ask whether the team applying them has been properly trained, not just shown once on site.
Compare scopes, not just prices
Two quotes can look similar but hide very different timeframes and inclusions.
- Written scope: Make sure every surface is listed, including doors, end panels, kickboards and benchtops.
- Repairs included: Clarify what level of repairs is covered in the price and what counts as extra work.
- Timeline breakdown: Ask for an outline of how many days on site, what happens each day and how long the curing window is before normal use.
Pay attention to communication and customer support
- Responsiveness: Notice how quickly they reply, how clearly they answer questions and whether they explain things in plain language.
- Scheduling transparency: They should be upfront about lead times, best seasons for your suburb and how they handle weather delays.
- Aftercare support: Ask who you contact if you have a question during curing or notice an issue in the first period after completion. A serious resurfacer will have clear care guidelines ready to go, similar in spirit to the practical advice shared in the Unique Resurfacing FAQ section.
Look for straight talk about what resurfacing can and cannot do
You want a team that sets realistic expectations.
- Honest limits: They should tell you if a cabinet carcass is too damaged, or if a surface near heat is not suitable for a coating system.
- Realistic outcomes: Be wary of anyone promising perfection with no maintenance. A pro will explain how finishes behave in busy Perth homes and commercial kitchens.
Low pressure next step: If you would like a clear, no nonsense view of how your own kitchen would run on a resurfacing timeline, reach out to a Perth team that does this every day, such as Unique Resurfacing, and use these questions as your checklist during the first conversation.