Essential Kitchen Resurfacing Preparation Checklist for Perth Homes

Kitchen Resurfacing Preparation Checklist Perth: What “Resurfacing” Actually Means
If you are looking at a tired kitchen and wondering if you really need a full rip out, you probably do not. That is where kitchen resurfacing comes in.
Kitchen resurfacing means you keep the existing structure, and update the visible surfaces so the space looks fresh and modern without starting from scratch. In practical terms, that usually covers:
- Cabinet doors and drawer fronts (resprayed or replaced with new fronts)
- Cabinet frames (prepped and sprayed to match the new finish)
- Benchtops (resurfaced with a durable coating or stone look finish)
- Splashbacks (resprayed or resurfaced where suitable)
- Occasional minor repairs such as patching chips or fixing loose hinges
The layout stays, the plumbing usually stays put, and you avoid the demolition that comes with a full renovation.
Why Perth Homeowners Choose Resurfacing
If your cabinets are still structurally sound, resurfacing is one of the most cost effective ways to update a Perth kitchen. You are not paying to remove and dispose of old cabinets, you are not paying for full new carcasses, and you avoid long downtime. Many Perth homeowners use resurfacing when they want:
- A modern look on a controlled budget, especially if they plan to sell or lease
- Less mess and disruption compared with a full renovation
- A faster turnaround so the kitchen is out of action for a shorter period
- Finishes that suit Perth’s climate, including heat and coastal air in some suburbs
If you want a deeper dive into finishes and options, you can explore Perth focused advice on the kitchen resurfacing specialists page.
Why Commercial Kitchens In Perth Benefit Too
For commercial spaces, resurfacing is about appearance, durability, and downtime. You keep the existing joinery where appropriate, refresh visible surfaces, and work around trading hours as much as possible. That suits:
- Hospitality venues that need a clean, updated look without closing for long periods
- Office and staff kitchens that must look professional without blowing fit out budgets
- Strata and managed properties where consistency across multiple kitchens matters
Perth businesses also gain flexibility. You can stage resurfacing area by area to spread cost and reduce impact on daily operations. For more on commercial options, you can review the commercial resurfacing information.
Bottom line You keep the bones, refresh what you see, and get a kitchen that looks current without the typical renovation headache. The rest of this checklist will walk you through how to prepare properly so your resurfacing project in Perth runs smoothly from day one.
Initial Assessment and Planning For Your Perth Kitchen Resurfacing
Before anyone brings in drop sheets or masking tape, you need a clear plan. A smart resurfacing job in Perth starts with an honest look at what you have, what you want, and what you are willing to spend.
Step 1: Assess The Current Kitchen Condition
Walk your kitchen with a critical eye and ask three simple questions.
- Are the cabinets structurally sound? Open every door, check hinges, feel for movement in the carcasses, and look for swelling from old leaks.
- Are the benchtops solid and stable? Light cosmetic wear is fine for resurfacing. Obvious sagging, deep cracks, or movement usually need carpentry first.
- Are there layout issues you cannot live with? Resurfacing keeps the footprint. If the layout drives you mad, fix that before you talk finishes.
Anything that feels loose, rotten, or water damaged needs repair or replacement before resurfacing goes on the table.
Step 2: Set Clear Resurfacing Goals
Decide what success looks like for you, not for a generic renovation checklist.
- Purpose Are you updating for yourself, for tenants, or for a future sale
- Scope Just doors and drawers, or benchtops and splashbacks as well
- Priority Better durability, easier cleaning, or a specific style
Write down your top three priorities. Use them later when you need to choose between material options.
Step 3: Get Real About Budget
Resurfacing is cost effective, but it still needs a clear spend limit. Decide on a budget range, then split it mentally into three buckets.
- Core resurfacing work cabinets, benchtops, splashbacks
- Minor fixes such as new hinges, handles, or basic carpentry
- Contingency for the surprises that show up once doors come off
If you want a deeper look at how resurfacing stacks up against full replacement, the guide on kitchen resurfacing vs replacement in Perth breaks it down in more detail.
Step 4: Choose Materials For Perth Conditions And Your Style
Perth kitchens deal with strong sun, summer heat, and in some suburbs coastal air. When you talk materials, focus on.
- Heat and UV resistance for cabinet coatings and benchtop finishes, especially near windows and west facing glass
Moisture resistance around sinks, dishwashers, and kettle zones
- Cleaning and maintenance smooth, sealed finishes pay off in busy family or commercial kitchens
- Style fit align colours and textures with the rest of the home or venue, not just current trends
If you want design ideas that are current for 2026, you can scan the Perth specific trends on the kitchen resurfacing trends page.
Key point A solid assessment and clear plan make the rest of the process faster, cleaner, and far less stressful. Know your kitchen, know your goals, then move on to preparing the space properly.
Preparing The Space For Kitchen Resurfacing In Perth
Good prep makes the difference between a smooth resurfacing project and a frustrating one. The goal is simple, clear access and a clean, safe workspace so your contractor can focus on the finish, not fighting clutter.
Step 1: Clear Benchtops And Cabinets
Start with a full clear out.
- Empty all benchtops kettles, toasters, decor, knife blocks, paperwork, everything goes.
- Empty the top drawers and cupboards especially those with doors and fronts that will come off.
- Pack items into labelled boxes and store them in another room or garage, not on the floor near the kitchen.
If you are in a commercial space, use a simple labelling system like zones or station names so staff can find things quickly once you move back in.
Step 2: Protect Or Move Appliances And Fixtures
Resurfacing involves sanding, masking, and spraying, so anything you leave in place needs protection.
- Freestanding fridges and microwaves Move them out of the work zone if possible.
- Built in ovens and dishwashers Your contractor will advise if they stay in place. At minimum, clear around them so they can be masked properly.
- Plumbing fixtures Clear under sinks and remove anything stored around exposed pipes.
- Power points and switches Make sure they are accessible for safe masking and do not have loose covers.
In Perth’s warmer months, think about what you still need access to. If you rely on a fridge for cold storage during a heatwave, plan a temporary position that stays outside the spray zone.
Step 3: Create Clear Access For Contractors
Trades need clear, direct paths in and out of the kitchen.
- Clear hallways and entries Move console tables, shoe racks, or clutter that could slow things down.
- Reserve parking or loading space so equipment can be brought in quickly.
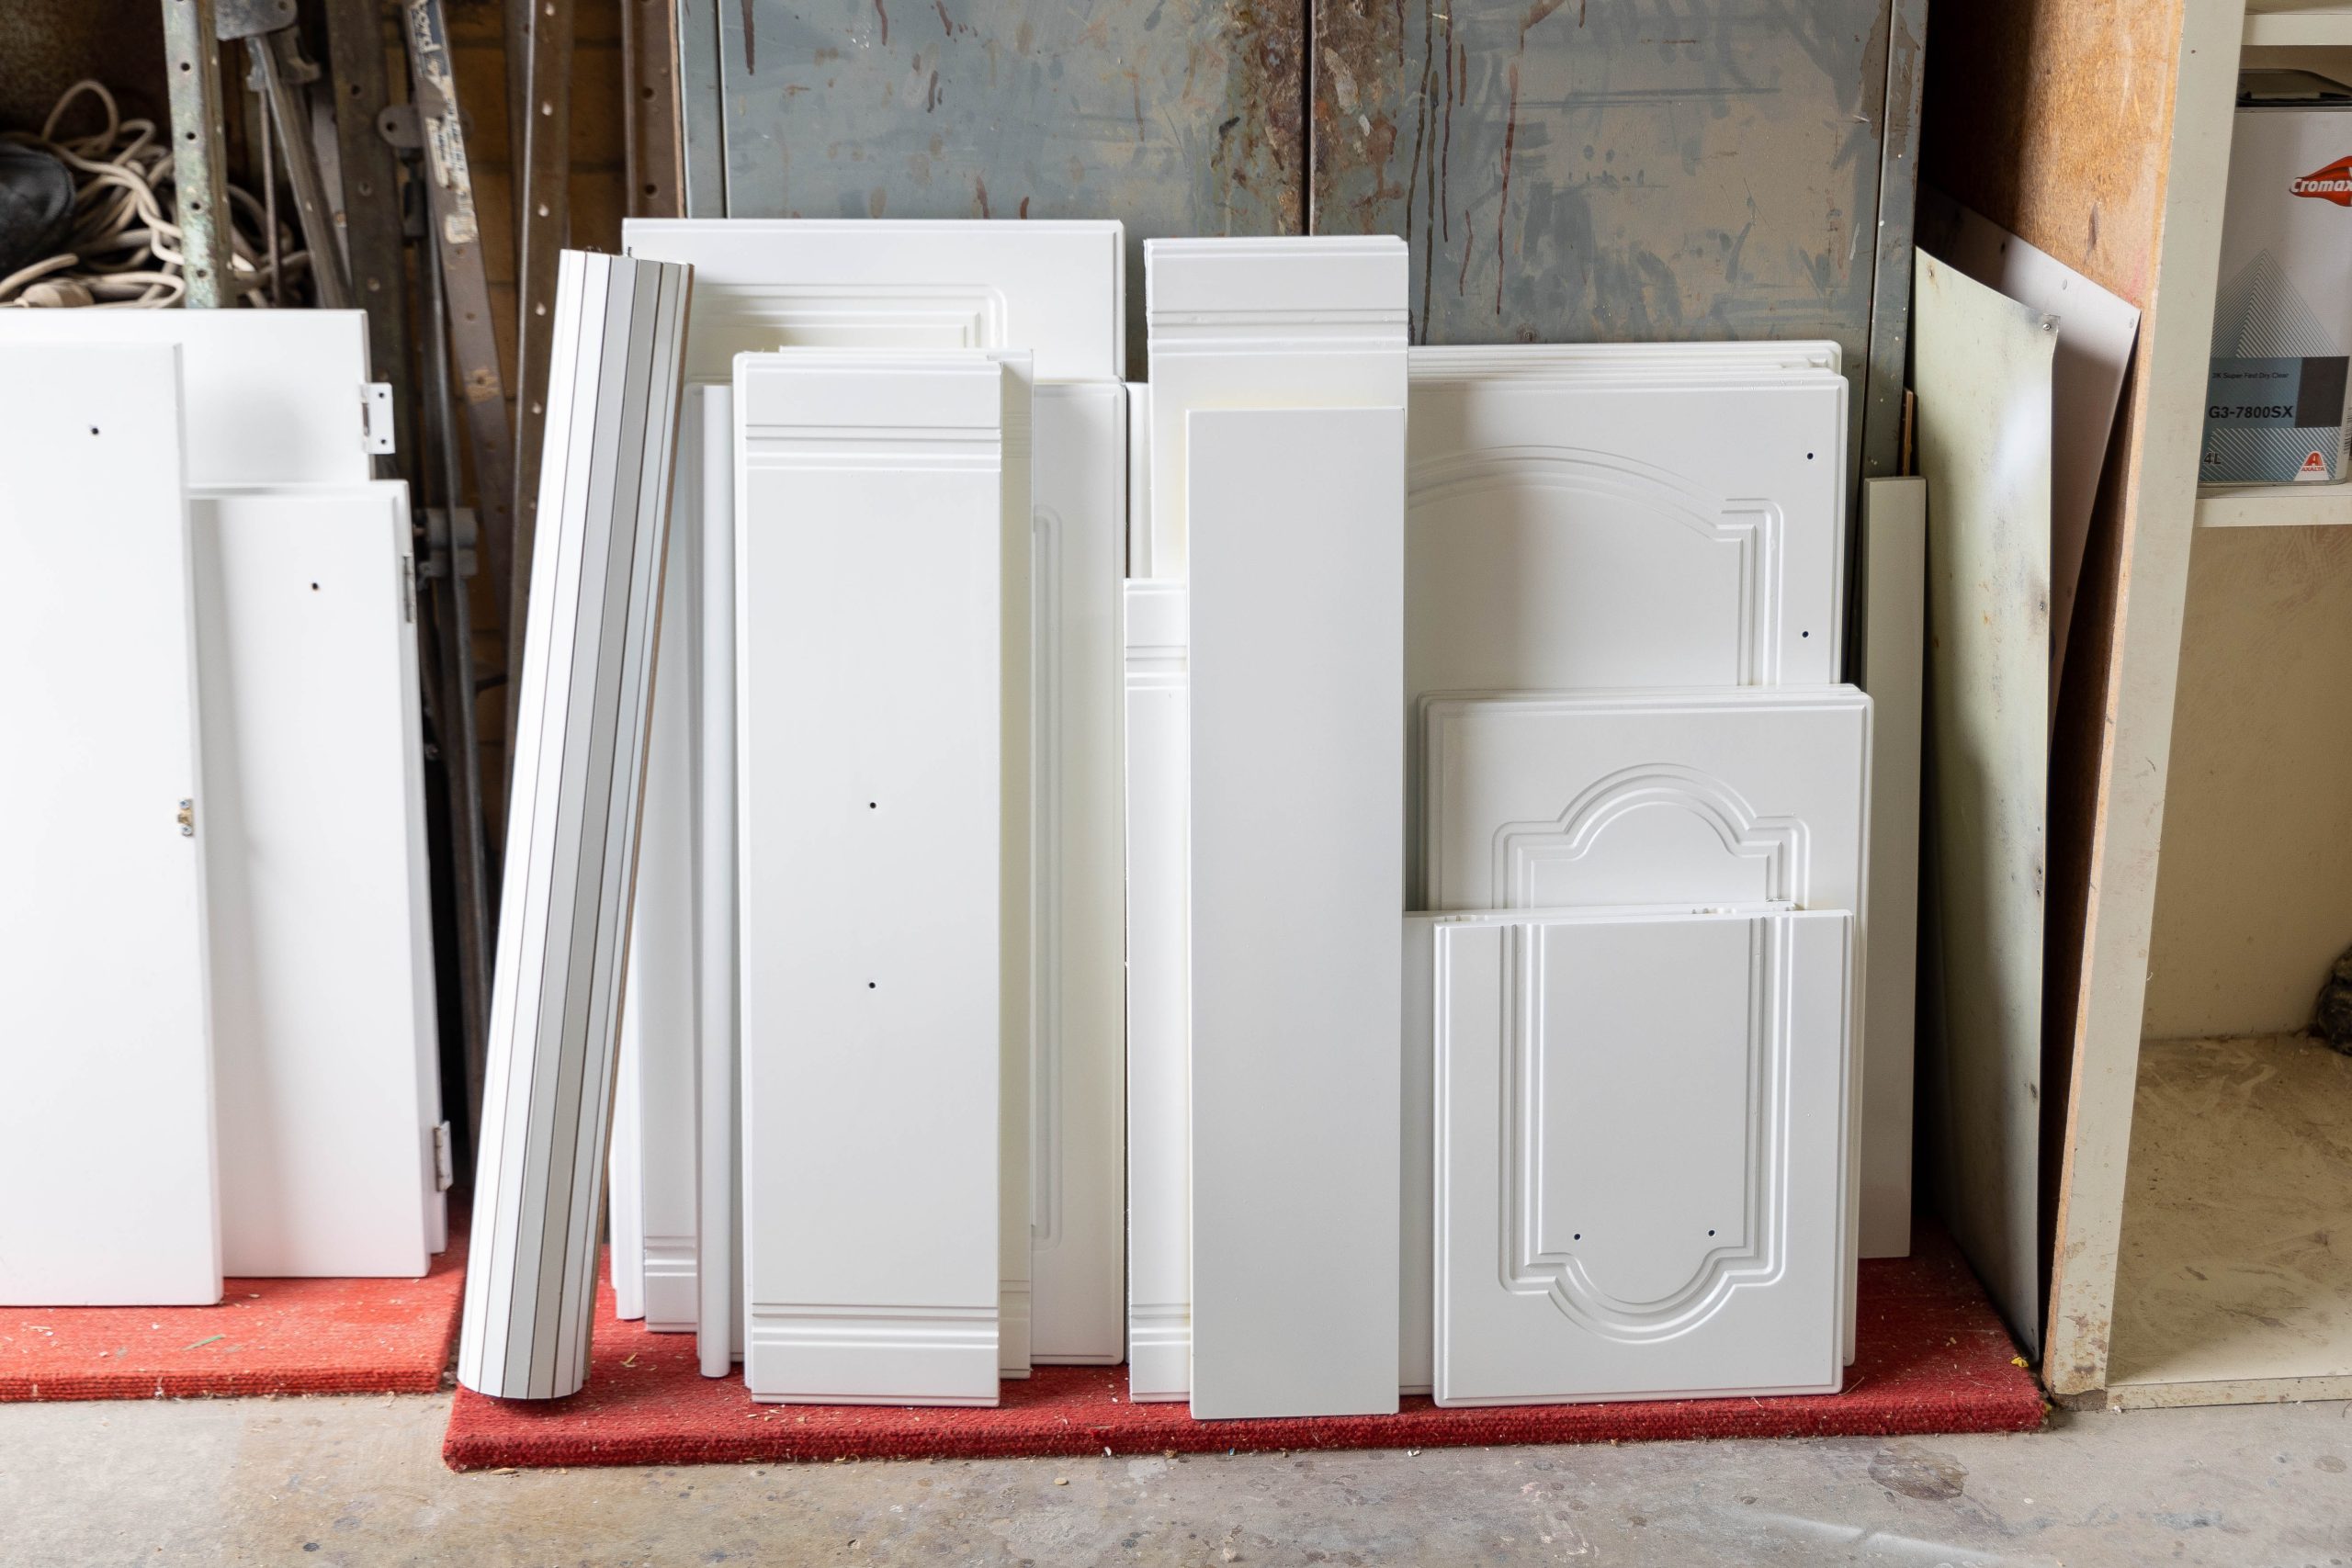
- Plan a staging area for doors and drawer fronts, often a garage or spare room that can be set up as a spray or prep zone.
For commercial kitchens, schedule prep outside service times and let staff know exactly which doors and corridors must stay clear.
Step 4: Perth Specific Prep Details
Perth’s climate creates a few extra considerations.
- Ventilation Make sure windows can open and flyscreens are intact, especially in summer.
- Dust control If you are near a busy road or coastal area, keep external doors closed so outside dust does not undo the cleaning work.
- Pets and kids Plan ahead so they are kept away from the work zone, especially when coatings are being applied.
If you want a clearer idea of what a prepared space looks like for kitchen resurfacing, the team at Unique Resurfacing can walk you through their standard setup before they start any work.
Selecting Reliable Perth Professionals And Getting Permits Right
Good prep is not just about clearing benchtops. It is also about choosing the right people and ticking the right boxes before anyone touches a cabinet door. In Perth, that means experienced local resurfacing professionals who understand regulations, products, and how kitchens actually get used here.
Why Local, Experienced Contractors Matter
You are not just buying a fresh spray finish. You are buying the judgement behind it. A solid Perth resurfacing contractor will:
- Know local conditions, including heat, UV, and coastal air that can affect coatings.
- Understand Perth building practices, so they can work with older homes, newer developments, and commercial tenancies without drama.
- Plan work to suit you, whether that is a family kitchen that must stay partly functional, or a commercial kitchen with strict downtime windows.
If you want a sense of what specialist resurfacing looks like in practice, have a look at the Perth focused services from residential resurfacing specialists.
How To Check Licensing, Insurance, And Credibility
Before you lock anyone in, use this simple checklist.
- Licensing Ask for the relevant trade or contractor licence number. Confirm it matches the business name on the quote and invoice.
- Insurance Request proof of current public liability insurance. For commercial work, ask about any extra cover required by your landlord or body corporate.
- Experience in resurfacing Not all painters specialise in resurfacing. Ask how often they resurface kitchens, what products they use, and what prep system they follow.
- Documentation Look for a written quote that clearly describes scope, surfaces to be resurfaced, and any exclusions or prep you are responsible for.
A professional who does this work all the time will answer these questions directly, without vague promises or confusing jargon.
When You Need Permits Or Approvals In Perth
Most kitchen resurfacing projects sit comfortably in the “cosmetic upgrade” category. You are not changing the layout, plumbing, or structure, so formal building permits are often not required. That said, it is smart to check:
- Renovations in apartments or strata You may need written approval from the strata manager or body corporate, especially for access, working hours, and ventilation setup.
- Commercial kitchens Check lease conditions and any building management rules. Some sites require notification or approval before any works, even if they are surface level.
- Electrical or plumbing changes If your project goes beyond resurfacing into moving power points or plumbing, licensed trades and permits may come into play.
Use your chosen contractor as a guide. A team that regularly works across Perth homes and businesses, like Unique Resurfacing, will tell you what they handle, what you need to clear with owners or managers, and how to avoid permit related delays.
Health And Safety Precautions During Kitchen Resurfacing Prep
Safety in the prep stage is not about being fussy, it is about making sure nobody ends up with irritated lungs, headaches, or damaged gear. Good resurfacing work in Perth homes and commercial kitchens uses sanding, strong cleaners, and coatings, so you want a clear plan before anyone starts.
Control Dust From Sanding And Prep
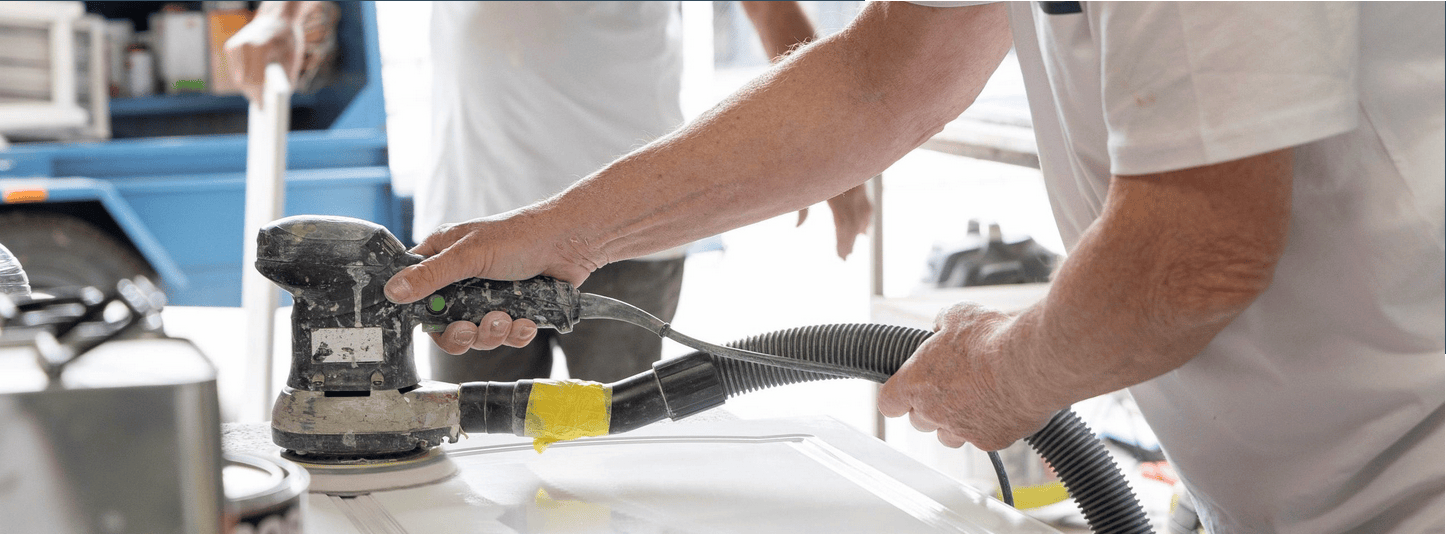
Resurfacing prep often involves sanding cabinet doors and frames. That creates fine dust that spreads fast if you do not manage it.
- Set up containment Ask your contractor to use plastic sheeting and tape to separate the kitchen from the rest of the building where practical.
- Protect nearby areas Cover adjacent furniture and floors with clean drop sheets, not old dusty ones that stir up more particles.
- Use proper PPE Anyone sanding should wear a suitable dust mask or respirator, eye protection, and hearing protection if power sanders are in use.
- Vacuum, do not sweep Use a vacuum with a fine dust filter instead of dry sweeping that just redistributes dust through the air.
For commercial kitchens, plan prep outside service hours and keep food storage sealed and away from the work zone.
Get Ventilation Right For Perth Conditions
Perth heat is handy for drying times but can amplify odours if you handle airflow poorly.
- Open windows where safe Create cross ventilation with open windows and internal doors, without leaving security doors wide open to the street.
- Use exhaust fans Run rangehoods and extraction fans where they vent effectively outside, not into ceiling cavities.
- Avoid direct blasts on fresh surfaces Fans are useful, but do not point them straight at freshly prepped or coated areas which can drive dust into the finish.
- Plan for temperature In peak summer, speak with your contractor about start times that avoid the hottest part of the day for stronger products.
Safe Handling Of Cleaners, Solvents, And Tools
Prep products and tools are safe when used properly, but they are not everyday kitchen items.
- Store chemicals correctly Keep degreasers, solvents, and coatings in a cool, shaded spot, out of reach of kids, pets, and staff who are not involved in the work.
- Read product guidance Your contractor should follow the manufacturer directions for mixing, dwell times, and ventilation.
- Respect electrical safety Keep cords clear of walkways, avoid overloading power boards, and never let sanding dust build up around power points.
- Use the right PPE Gloves, safety glasses, and appropriate respirators should be standard when handling stronger cleaners or primers.
Protect People Who Live Or Work On Site
You want resurfacing to fit into daily life, not take it over.
- Set no go zones Clearly mark the work area so kids, pets, and non essential staff know not to enter.
- Plan alternate access If the kitchen is a main thoroughfare, agree on safe access paths before work starts.
- Communicate clearly Let everyone know prep days and times, any expected odours, and which appliances will be out of action.
If you want experienced guidance on safe prep setups, teams that focus on resurfacing work across kitchens, bathrooms, and laundries, such as the specialists at Unique Resurfacing, can talk you through their standard safety approach before they book you in.
Final Checklist Before Kitchen Resurfacing Starts
Once the planning and prep are done, you want a clear, simple checklist so nothing gets missed on day one. Use this final run through for Perth homes and commercial kitchens so the resurfacing crew can get straight to work.
1. Personal Items And Kitchen Contents
- All benchtops cleared No appliances, mail piles, decor, or dish racks left on surfaces.
- Cabinets and drawers emptied as agreed Follow what is listed in your quote or scope.
- Food stored safely Pack pantry items, open packets, and fresh food away from the work zone.
- Valuables removed Take out anything fragile or sentimental so it cannot be knocked or dusted.
If you are resurfacing as part of a wider refresh, this is a good time to declutter and only bring back what you actually use.
2. Access And Site Readiness
- Clear paths to the kitchen No boxes, shoes, or furniture blocking access.
- Staging area confirmed Garage, alfresco, or spare room ready for doors and panels.
- Parking sorted Space for the resurfacing vehicle and materials, especially on tight Perth streets.
- Power points available Enough outlets for sanders, lights, and extraction gear.
3. Timelines, Scope, And Communication
- Start date and time confirmed Everyone on site knows when the crew arrives.
- Scope checked against quote Surfaces listed match what you expect to see resurfaced.
- Contact person nominated One decision maker for questions and approvals.
- Access hours agreed Important for strata properties and commercial kitchens with strict building rules.
If anything feels unclear, ask your contractor to walk you through it. Teams that handle kitchens all day, such as specialist kitchen resurfacing crews, are used to spelling this out.
4. Protection And Safety Checks
- Floors covered Drop sheets or protection boards in high traffic and spray zones.
- Adjacent rooms protected Doors closed or plastic sheeting in place where needed.
- Kids, pets, and staff plan Clear rules about who stays out and where they go instead.
- Ventilation plan confirmed Windows, fans, and exhaust options discussed for Perth heat.
5. Final Walkthrough Before Work Begins
Do a quick joint walkthrough with your contractor.
- Surfaces to be resurfaced pointed out Cabinets, benchtops, and splashbacks checked.
- Existing damage noted Chips, cracks, or stains identified so nobody confuses them with new issues.
- Colour and finish confirmed You both agree on the chosen finish and sheen level.
- Temporary kitchen plan Bench, sink, or appliance setup sorted for the resurfacing period.
Once this checklist is ticked off, you are ready for the first coat. If you want help stepping through it, you can talk directly with the team at Unique Resurfacing and have them run through their pre start checklist with you before booking.
Post-Preparation Expectations And Tips Before Resurfacing Starts
Once the prep work is complete and your kitchen is cleared, there is a short but important window before resurfacing actually begins. How you handle this stage can make the job smoother and far less stressful for everyone on site.
Set Up A Simple Temporary Kitchen
You will not have full use of your kitchen, but you do not need to live on takeaway either. Aim for a basic, low fuss setup.
- Pick a “mini kitchen” zone Often a laundry, alfresco, or dining area with a nearby power point works best.
- Keep key appliances Kettle, toaster, microwave, and one small bench or trestle table.
- Use a portable tub for washing up If the main sink is off limits, a plastic tub and nearby bathroom or laundry sink will do the job.
- Plan simple meals Think no fuss options that do not need lots of pots, pans, or prep space.
For commercial kitchens, plan a reduced menu or alternate service method in advance. Use a clear checklist of what equipment is available and what is not so staff are not guessing on the day.
Keep Communication Tight With Your Trades
Once prep is finished, everyone should be on the same page about what happens next.
- Confirm arrival times Agree on start and finish windows for each resurfacing day.
- Lock in access details Keys, alarms, loading areas, and any building sign ins should be sorted before the first coat goes on.
- Nominate one decision maker Whether it is you, a manager, or a facilities contact, keep communication clear and direct.
- Clarify “no go” items If there are surfaces or appliances that must not be touched, repeat this in writing.
If you want a feel for how a specialist resurfacing team usually structures these stages, resources on common resurfacing questions can be helpful before you start.
Maintain A Clean, Organised Site
Once the room is prepped, resist the urge to drift back in with clutter.
- Keep benchtops completely clear Do not move mail, groceries, or lunch onto freshly masked areas.
- Protect the access path Avoid dumping shoes, school bags, or stock deliveries in hallways the crew will use.
- Control dust and rubbish Use one bin location away from the kitchen, and avoid sweeping dust toward the work zone.
- Stick to the safety plan Keep kids, pets, and non essential staff out of the marked area, even if “nothing is happening” for an hour.
What To Expect On Day One Of Resurfacing
When the crew arrives, expect a quick walkthrough, a few clarifying questions, then masking and setup. You may notice more tape, plastic, and protection go in before any coating starts. That is normal, and it means they are taking the finish seriously.
Use this window to double check colour selections, sheen levels, and any edge details you have discussed. Once those are agreed, you are better off stepping back and letting them work without interruptions.
If you want a team that treats your kitchen, bathroom, and laundry as part of one joined up plan, you can explore how laundry resurfacing and other areas fit around your kitchen timing before you book everything in.